
Quick Summary
Automated driveway gates often remain stuck open or reverse unexpectedly due to dirty photo-eye lenses, optical misalignments, severed underground wiring, or safety circuit faults. While basic lens cleaning and bracket realignments can resolve simple sightline issues, electrical component failures and in-ground loop shifts require specialized multimeter diagnostics and repairs from Ironworks Gate Co. Readers will understand how to isolate gate sensor malfunctions and know when to contact Ironworks Gate Co. for a free on-site assessment or same-day emergency repair.
Gate Sensor Repair – Fast Fixes to Secure Your Driveway
If your driveway gate reverses randomly or refuses to close, professional gate sensor repair restores your property’s security quickly. Service calls vary in duration and cost depending on whether the issue requires basic optical realignment, low-voltage wiring repair, or a complete photo-eye replacement. Under UL 325 safety standards, automated gate operators must incorporate monitored safety devices designed to halt or reverse the gate when an obstruction is detected.[1]
Modern access systems require precise electrical diagnostics rather than trial-and-error part swapping. Ironworks Gate Co. brings specialized testing equipment directly to your property, with service vehicles stocked with monitored safety eyes, loop detectors, and replacement logic boards. Below, we walk through practical diagnostic steps to isolate sensor faults, test safety circuits, and determine whether you can resolve the issue yourself or need professional service.
Gate Sensor Troubleshooting: Quick Overview and What You’ll Need
Quick Summary: Gate sensor troubleshooting starts with checking whether a gate’s failure to close comes from dirty lenses, physical bracket misalignment, inadequate voltage, or monitored safety circuit faults. While wiping lenses and tightening brackets can solve simple physical issues, broken underground wiring runs or loop detector faults require multimeter diagnostics and component replacement.
When an automated gate reverses unexpectedly or halts mid-cycle, the safety circuit is usually holding the system open. Troubleshooting means separating simple line-of-sight obstructions from board-level electrical faults before adjusting any mechanical hardware.
Immediate Symptoms of Sensor Malfunction
When a gate stays locked open, property owners often suspect a faulty remote or an access keypad failure. In most cases, the operator is simply responding to an active safety lockout. Safety standards require operators to monitor entrapment protection devices. If the control board does not receive the expected signal from the safety sensor, it defaults to a fail-safe open position to prevent vehicle damage or injury.[2]
Essential Tools and Safety Preparation
Always disconnect primary operator power or disengage the mechanical arm using the manual release key before inspecting wiring or moving parts. For field testing, keep the following items on hand:
- Clean microfiber cloth and a mild, non-abrasive optical cleaner
- Standard metric and imperial Allen wrench sets
- Digital multimeter capable of measuring low-voltage AC/DC and continuity
- Manufacturer wiring diagram for your specific operator model
Using a calibrated multimeter allows you to measure input voltage and test circuit continuity safely, avoiding the cost and delay of replacing parts that are still working properly.
Step 1: Inspect and Clean Infrared Photo-Eye Lenses and Reflectors
To clean infrared photo-eyes, remove surface grime, spiderwebs, and moisture from both lenses and reflective hoods using a soft microfiber cloth. Clearing these obstructions restores the infrared line of sight and prevents the safety circuit from falsely reading an obstruction.
Clearing Environmental Debris and Spider Webs
Outdoor grime is the most common reason for intermittent sensor failure. Clean the assembly with these steps:
- Wipe the emitter and receiver lenses with a clean microfiber cloth to remove dust, pollen, and mud.
- Blow out spiderwebs and insect nests from inside the protective hood enclosure using compressed air.
- Trim back lawn growth, tall grass, and overhanging branches within 12 inches of the optical path.
Checking for Water Intrusion and Housing Cracks
Inspect the sensor casing and perimeter rubber gaskets for hairline cracks, dry rot, or condensation behind the lens. Internal moisture refracts the infrared beam away from the receiver, causing intermittent cycle failures. If moisture is present inside a sealed unit, replace the housing gasket or install a new weather-rated sensor assembly.
Step 2: Verify Optical Alignment and Read Diagnostic LED Indicators
Optical misalignment occurs when infrared emitters and receivers shift off-center due to gate vibration, ground settling, or accidental bumps. Checking the built-in diagnostic LEDs confirms whether your sensors maintain a complete, uninterrupted beam across the driveway before you test electrical circuits.
Interpreting Solid vs. Blinking Diagnostic LEDs
Most commercial and residential photo-eyes feature onboard indicator lights. A solid LED generally indicates an aligned, unobstructed beam receiving adequate power. A blinking or dark LED points to an interrupted optical path, poor alignment, or a missing signal from the control board.
Realigning Transmitter and Receiver Sensor Brackets
- Loosen the bracket mounting screws slightly to allow smooth manual adjustment.
- Pivot the sensor housing horizontally and vertically until the diagnostic LED illuminates solid.
- Tighten all mounting hardware firmly so gate operation and wind do not shift the sensor out of alignment.
On long driveways, technicians at Ironworks Gate Co. use precision laser alignment tools to help establish a straight sightline between posts, ensuring the beam remains stable even under heavy gate vibration.
Step 3: Test Low-Voltage Wiring Continuity and Power Terminals
Testing low-voltage wiring confirms whether broken conductors, loose terminal screws, or voltage drops prevent your photo-eyes from communicating with the control board. When optical alignment looks correct but the sensor LEDs remain dark, electrical testing isolates damaged underground runs from failed internal circuitry.
Measuring Voltage at the Sensor Terminals
To verify proper operating power during troubleshooting, follow these steps:
- Set your digital multimeter to DC volts (or AC depending on your operator specifications) and place the probes across the power input terminals (V+ and V-).
- Confirm a steady reading between 12V and 24V. Fluctuating or sub-10V readings indicate supply issues or excessive resistance on the wire run.
- Check terminal screw tightness and strip away oxidized copper ends to ensure clean, solid contact.
Tracing Underground Conduit for Wire Damage
Physical wire damage is common along driveway edges. Line trimmers regularly nick exposed wiring at post bases, while shifting soil or rodents can sever direct-burial lines inside compromised conduit. Tracing the low-voltage run from the main operator panel to the sensor posts helps identify broken conductors before you replace expensive hardware.
Step 4: Diagnose Monitored Safety Circuit and Control Board Faults
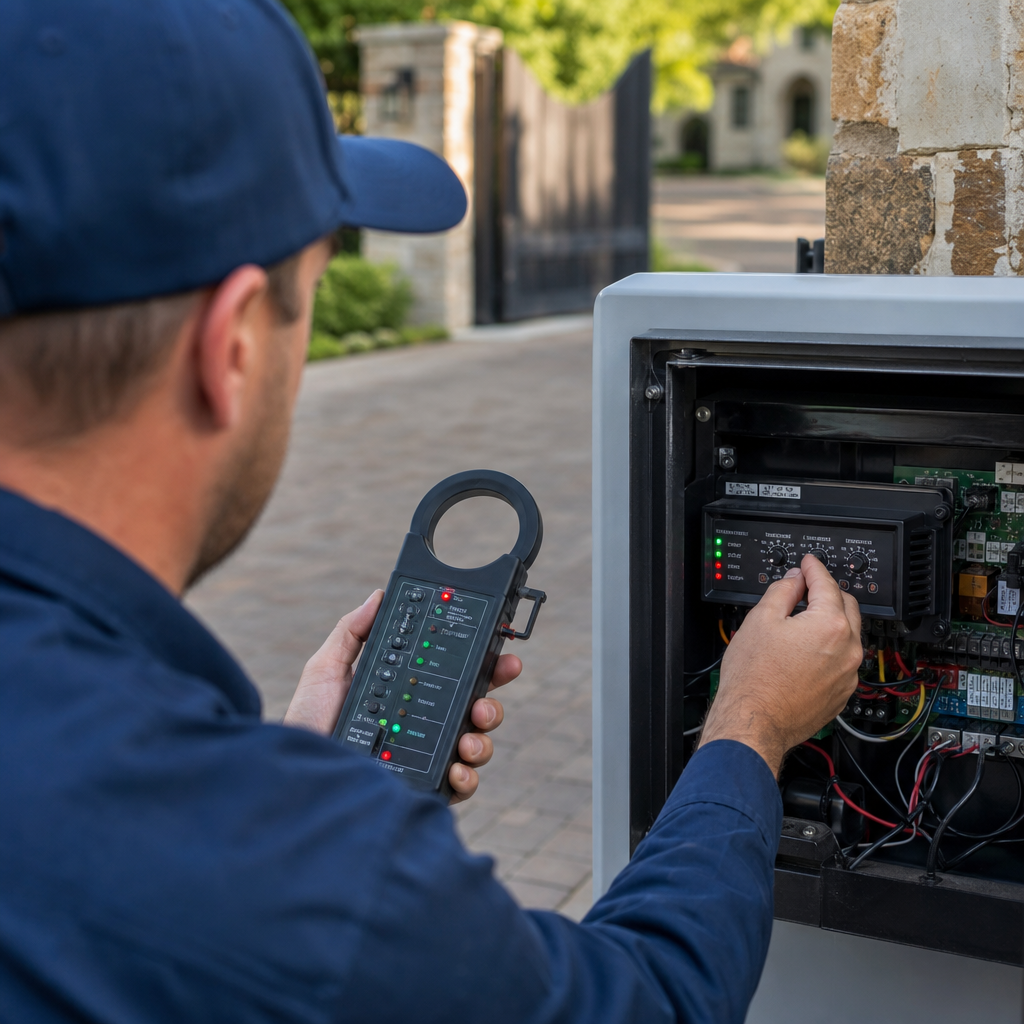
Diagnosing safety circuit faults requires checking communication between your sensors and the main logic board. When voltage is present at the sensor but the operator still refuses to close, the board may not be detecting a functional monitored safety device.
Understanding Monitored Safety Inputs
Modern operators verify sensor function before allowing the gate to close. Attempting to bypass these circuits can cause modern operators to lock out, as automated systems require active, monitored protection devices.
Isolating Operator Board Failures After Electrical Storms
Lightning strikes and power surges can damage board microprocessors while leaving the mechanical motor intact. When sensor alignment and incoming voltage are normal but the control board diagnostic LEDs indicate an open safety circuit, the internal input channel on the logic board may be damaged. In these situations, replacing the main control board or installing an external interface module may be necessary.
Step 5: Troubleshoot In-Ground Loop Detectors and Soil Impedance Shifts
Troubleshooting in-ground loop detectors requires analyzing inductive frequency changes rather than optical sightlines. When an underground wire circuit suffers impedance shifts, it can hold a gate open continuously by signaling a false vehicle presence.
Distinguishing Safety Loops from Free-Exit Loops
Unlike infrared photo-eyes, inductive loops create an electromagnetic field in the pavement to detect vehicle mass. Free-exit loops trigger automatic opening cycles as you approach the exit, while safety (reverse) loops keep the gate from closing while a vehicle sits in the swing or slide path. A faulty safety loop continuously sends a hold-open signal to the operator.
Addressing North Texas Soil Movement and Moisture Shifts
Expansive clay soils throughout North Texas shift significantly between wet and dry seasons. This movement can crack driveway paving, strain embedded loop wires, and shift baseline inductance outside standard ranges. When troubleshooting detector modules, Ironworks Gate Co. recommends adjusting the frequency channel to prevent crosstalk with nearby loops, while recalibrating sensitivity thresholds prevents shifting underground rebar from triggering false vehicle detections.
Step 6: Determine When to Repair vs. Replace Driveway Gate Sensors
Deciding whether to repair or replace your gate sensors comes down to internal circuit condition versus external alignment. While cleaning optics or tightening loose terminal screws provides a quick fix, cracked housings, water-damaged boards, and burned diodes require full component replacement.
Signs of Internal Component Failure
Safety sensors exposed to years of direct sun and heavy rain eventually suffer internal component breakdown. If an emitter diode weakens, it may not project a beam far enough across a wide driveway, even if the power light stays lit. When realignment and terminal cleaning fail to restore a solid signal, the sensor has reached the end of its service life.
Matching Replacement Sensors with Existing Operators
Installing incompatible aftermarket sensors can leave the system in a permanent safety lockout. When replacing hardware, install manufacturer-compatible safety components designed to interface directly with your operator.
What Does Gate Sensor Repair Cost?
Reliable neutral cost data for gate sensor repairs is limited, as total expenses depend heavily on the specific nature of the fault, site conditions, and required replacement parts. Basic adjustments and wire re-terminations generally represent lower-cost repairs, whereas replacing specialized photo-eyes, damaged underground loop detectors, or main control boards involves higher costs.
Key variables include the distance of wire runs, the need for pavement cutting to replace damaged ground loops, and the cost of operator-specific control boards. Ironworks Gate Co. provides clear, upfront pricing during an on-site assessment before any repair work begins.
Professional Gate Sensor Repair for Top Operator Brands
Major gate operator manufacturers, including LiftMaster, DoorKing (DKS), Viking Access, and Nice Apollo, require compatible monitored safety sensors to operate properly. Ironworks Gate Co. technicians service all major operator brands and carry factory-compatible replacement parts to diagnose and repair these systems.
Frequently Asked Questions About Gate Sensor Repair
Why is my driveway gate stuck open and refusing to close?
When an infrared photo-eye is misaligned, dirty, or unpowered, the operator safety circuit interprets the missing signal as an active obstruction. To prevent property damage or injury, the system holds the gate open until the optical path is cleared and verified.
How much does gate sensor repair cost in University Park and Dallas?
Repair costs vary depending on the diagnosis. Basic alignment and wire repair generally cost less, while full photo-eye replacement, loop detector troubleshooting, or control board replacement will require a larger investment.
Can I bypass photo eyes on my gate opener?
No. Bypassing safety sensors is not recommended because automated operators rely on active entrapment protection to prevent serious injury and property damage. If your sensors fail, contact a professional technician to restore safe and proper operation.
Sources
- Gate Operators and the ANSI/ UL 325 Standard – DASMA – dasma.com (2018)
- UL 325 and Gate Installations – dasma.com (2016)
Related reading: Driveway Gate Repair – Call Now-10% Off – On-Site in 60 Minutes – Free Estimate
Related reading: Automatic Gate Repair Dallas | 10% Off & Free Estimate | On-Site in 60 Minutes
Frequently Asked Questions
Why does my driveway gate sensor only malfunction at certain times of the day?
Direct sunlight striking an infrared receiving lens at low angles can blind the sensor, tricking the safety circuit into detecting an obstruction. Ironworks Gate Co. corrects optical washout by installing sun shields, reversing the transmitter and receiver positions, or upgrading to polarized lenses.
How long does professional gate sensor repair typically take?
Most standard photo-eye realignments and wiring repairs take under an hour to diagnose and complete on-site. Ironworks Gate Co. offers same-day emergency dispatch with fully equipped trucks to ensure your gate operator is restored quickly without prolonged security risks.
Does repairing a damaged underground loop detector require tearing up the driveway?
Not necessarily, as many loop detector issues stem from sensitivity drift or wiring faults inside the operator housing rather than the pavement loop itself. If the embedded wire is severed, Ironworks Gate Co. can cut a precise, sealed saw-cut loop or integrate wireless safety photo-eyes to avoid major driveway excavation.
About the author
 |
Christopher Vance Christopher Vance brings over 12 years of hands-on experience in access control and automatic gate systems. Certified by the Institute of Door Dealer Education and Accreditation (IDEA), he specializes in troubleshooting complex gate operator issues and providing transparent cost assessments. Based in Texas, Christopher is dedicated to educating property owners on safe, reliable gate maintenance and repair. |
Gate not opening, off track, or opener dead?
We’re available now - call for a fast, free estimate.
Call Now - Free Estimate